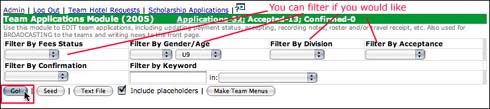
1. In the Team Applications Module, select filter criteria, if known (Ex: Boys 10).
2. Click on the Go! button.
3. Select the “Accept” or “Not Accepted” from the drop down menu at the top of the listing (you can only apply one or the other to a group of records at a time)
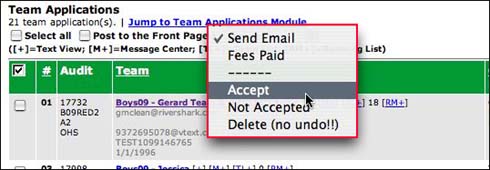
4. Check the checkboxes next to the team(s) you wish to mark Accept or Not Accepted
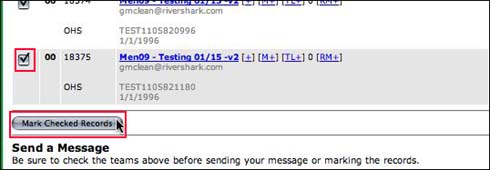
5. Click the Mark Checked Records button at the end of the listing.
6. In the Team Applications Module, click on the “Make Team Menus” button to build the search menus in the side rail. You should also click on the button every time you make a change in the accpeted/not accepted status of any team, just to make sure you include all.

Before marking teams, you should have a Accept and Not Accept email prepared. Immediately after making the team menus, you should send out an email to the Accepted Teams (filter on acceptance status and make sure that all your teams are selected properly!)
The astute team will notice their status when they log in, even before you send the email, so all of this should be done as one task.
See examples of Acceptance and Non Acceptance letters in the General Help at the top of the Help menu list.